How To Start Producing Music | A Guide From Rome In Silver – FUXWITHIT

Hey hey hey everybody, Vinny aka Rome in Silver here! I hope you are all staying safe and healthy. I assume that many of you have quite a bit of time on your hands these days, so I’ve teamed up with FUXWITHIT to create an all in one guide on how you can start producing music.
This guide will help jumpstart your music-making efforts and aid you in finding a path that suits you. I will try to keep everything in the simplest terms so even the most novice musician can understand. I would like to preface this by saying that this is all from my personal experience, and there really is no right or wrong way to create music, this is just to give you some insight.
So without any further ado, let’s dive right in.
Getting Started
Requirements:
- Working desktop or laptop computer (preferably something with 8 GB of RAM or higher)
- Headphones and/or studio monitors
- Audio Interface
- DAW of choice
- Caffeine (seriously though)
Now, if you don’t have some of these things, that’s okay. If you only have headphones, that’s perfectly fine. Contrary to popular belief, you CAN make amazing music only using headphones. However, I would suggest getting at least a cheap pair of studio monitors when you are able to. You can go to guitar center and check some out, or go to Sweetwater and type in ‘studio monitors pair’ and check out some of the cheaper options.
For headphones, I recommend the Sony MDR-7506’s.
Pro Tip: don’t ever let anyone tell you that you NEED something to produce music. Yes, you need a DAW, but you don’t NEED certain monitors, headphones, gear, or anything else except the drive to make music itself.
I am currently running on both Mac & PC. I am constantly switching back and forth between both because they both have advantages and disadvantages. Also, my Macbook is much better for when I am traveling and my PC is a powerhouse at home.
Here is my current setup to get some ideas:
Macbook Pro
- 15 inch 2015 model
- 2.8 GHz Intel Core i7
- 16 GB RAM
- 1TB HDD
PC
- AMD Ryzen 7 3700x 3.6G
- MSI GeoForce RTX 2060
- 1 TB SSD, 2 TB HDD
Other
- KRK Rokit 8’s studio monitors
- Sony MDR-7506 headphones
- Focusrite Scarlett 2i4
- CME xKey 25
That is essentially my entire setup! I have had some gear over the years, but over time I realized that I enjoyed working more in the box (meaning software only) rather than take up studio space with a lot of things I probably won’t use.
Now if you do have studio monitors, then you will need an audio interface as well. An audio interface is what gets the audio signal from your DAW to the monitors and then to your ears. I use the Focusrite Scarlett 2i4.
Here are some links to basic and affordable audio interfaces that have everything you need when starting out:
- Focusrite Scarlett Solo 3rd Gen USB Audio Interface
- Native Instruments Komplete Audio 2 USB Audio Interface
- Behringer U-Phoria UMC202HD USB Audio Interface
And here is a basic explanation of how interfaces work:
 Once you’ve got your interface, download all the drivers that come with it, if any. Once you’ve downloaded all drivers and connected the monitors, it’s time to get started.
Choosing a DAW
A DAW is a Digital Audio Workstation. Your DAW is your lifeblood. Choosing one isn’t easy, but there really isn’t one right or wrong choice here. The most widely used DAWs today include Ableton, FL Studio, Pro Tools, Logic, Cubase, and Reason just to name a few. For electronic music, I would say Ableton and FL Studio are the most used.
All of these DAWs I mentioned are great in their own ways. I happen to have started on Garageband around 2006, then moved to Logic in 2008, then to Ableton in 2015. I haven’t switched to anything else ever since, and I find Ableton to just be the most convenient for my personal workflow.
Navigating Your DAW
Now that you’ve chosen your DAW and installed it, open it up and and start learning how to navigate. Navigation is IMPERATIVE to learning how to make music. If you can navigate through your DAW quickly, your workflow becomes so much smoother.
Most DAWs have similar structured layouts: a place where you can record audio, record MIDI, draw in MIDI, drop in plugins, access your samples, etc. But there’s more than just that. There are other functions such as automation, master tempo, settings and preferences, and much more. If you know where to find all of these things, then you’ll be in great shape.
Here are a few beginner tutorials on navigating through Ableton:
- Your First 15 Minutes in Ableton Live 10 for Beginners
- Ableton Live 10 Beginners Tutorial | Beat Academy
Key Commands
My most important tip for navigation, and I can’t stress this enough, is KEY COMMANDS.
Key commands (or ‘key shortcuts’) are your most valuable tool while working on beats. They can cut your processes in half. Each DAW has their own set of key commands, and they differ for each operating system as well.
Here is a list of some important key commands you should learn first:
- Ableton
- FL Studio
- Logic
Just for good measure, here is a list of my most used key commands for Ableton:
- ctrl + e / cmd + e = Split Clip
- ctrl + j / cmd + j = Consolidate Clips
- ctrl + z / cmd + z = Undo
- shift + ctrl + z / shift + cmd + z = Redo
- ctrl + l / cmd + l = Loop Mode
- ctrl + g / cmd + g = Group Tracks
- ctrl + i / cmd + i = Insert Time
- ctrl + t / cmd + t = Insert Audio Track
- ctrl + shift + t / cmd + shift + t = Insert MIDI Track
- 0 = Deactivate Clip
Plug-ins
Plug-ins are both native and third party pieces of software that you can find online. There is also a ton of free plug-ins available all over the internet. There include synthesizer plug-ins, sampler plug-ins, FX plug-ins, and much more.
As mentioned above, some plug-ins are native to your DAW (meaning that some come installed when you install your DAW). We call these “stock” plug-ins. Just like a “stock” car that has no mods to it, “stock” plug-ins are what comes built in with your DAW.
Some Ableton “stock” plug-ins include Operator, Simpler, Glue Compressor, Redux, Erosion, and more.
FL Studio “stock” plug-ins include 3xOSC, Harmor, Sytrus, etc.
Logic “stock” plug-ins include EXS24, ES2, Sculpture, etc.
LEARN YOUR STOCK PLUG-INS FIRST!
One thing I’ve noticed is that many people tend to buy or torrent a ton of third party plug-ins when they are first starting out. This is the quickest way to wanting to give up. When you have too many options and too many things to learn, you will quickly become overwhelmed. I think that is the reason I stuck with this was because I didn’t even know what a third party plug-in was until years after I started producing. I was using only “stock” plug-ins for a very long time, and because of that, I learned the ins and outs of my tools.
KNOW THE INS AND OUTS OF YOUR TOOLS BEFORE DOWNLOADING A BUNCH OF RANDOM STUFF.
If you’re in Ableton, learn everything you can about Operator, EQ Eight, Delay, and so on.
If you’re in FL Studio, learn everything you can about Sytrus, Harmor, and so on.
I know you want to download Serum right away, but consider how much else there is to know about your native plug-ins that could help you out tremendously down the line.
Once you’ve got a solid grasp of the capabilities of your DAW’s native plug-ins, start looking into downloading some 3rd party ones.
My favorite plug-ins
Dimension Expander
This one is a FREE effect plug-in. It’s a ‘stereo widener’. I use this thing more than I use any other effect in my productions.
Soundtoys Bundle
This is a ‘bundle’ of plug-ins which you can buy for a discounted price. Currently the bundle comes with 21 separate FX plug-ins. EVERY SINGLE ONE OF THESE ARE AMAZING. Crystalizer and Decapitator are my favorites. The bundle can get a bit pricey, but it’s worth looking into if you need some new things to mess around with and take your beats to the next level.
Kilohearts Phase Plant
I recently got this one and I can tell you it’s absolutely amazing. It’s very versatile and unique compared to everything else on the market these days. It’s basically an analog synth, wavetable synth, and sampler all in one. A bit hard to describe it but it’s worth diving into and making some cool sounds.
Kilohearts has a subscription service where you can pay just $10 a month and you will have access to every single Kilohearts plug-in – not just Phase Plant but all of their other plug-ins as well. This deal is absolutely a MUST.
Camel Crusher
A free distortion plug-in.
Valhalla Vintage Verb
The only reverb you’ll ever need! There is something about this reverb that just blows all other reverb plug-ins out of the water. I love the ‘Color’ section where you can choose between 1970’s, 1980’s, and now.
U-he Uhbik Bundle
This one is a secret weapon of mine. I don’t come across lot of other producers that use these but they are super powerful. Similar to the Soundtoys Bundle, there are a number of different FX plug-ins that come with the bundle. My favorite’s are the Uhbik-S (frequency shifter) and the Uhbik-T (tremolo).
Spectrasonics Omnisphere
The Holy Grail of all synthesizers. This thing has some of the best preset banks known to man kind. Insanely colorful and harmonically rich sounds. It’s expensive but worth every penny.
Types of Plug-ins
There are three basic types of plug-ins that you should know about:
- Instruments
- Audio Effects
- MIDI Effects
Instruments are essentially the starting grounds of a sound. Ground zero, where the audio signal is created. Synthesizers are a classic instrument. When you load up a synth, usually there is a default “patch” or “preset” that is loaded simultaneously. Default presets are usually sine or saw waves.
Audio Effects are plug-ins that you can stack on top of MIDI or audio channels. For example, you have an audio channel with a kick drum sample. On that channel you can put an audio effect such as a compressor, a saturator or a distortion unit. Some examples of effects plug-ins include distortion, compression, EQ, pitch shifting, reverb, delay, etc.
MIDI Effects are plug-ins that only effect MIDI. Therefore, you cannot use a MIDI effect on an audio channel (see more on midi vs. audio below. MIDI effects include arpeggiators, chord generators, velocity manipulation, etc.
MIDI and Audio
MIDI and Audio are two completely different things. Here is a video explaining the differences between the two.
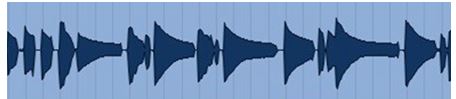
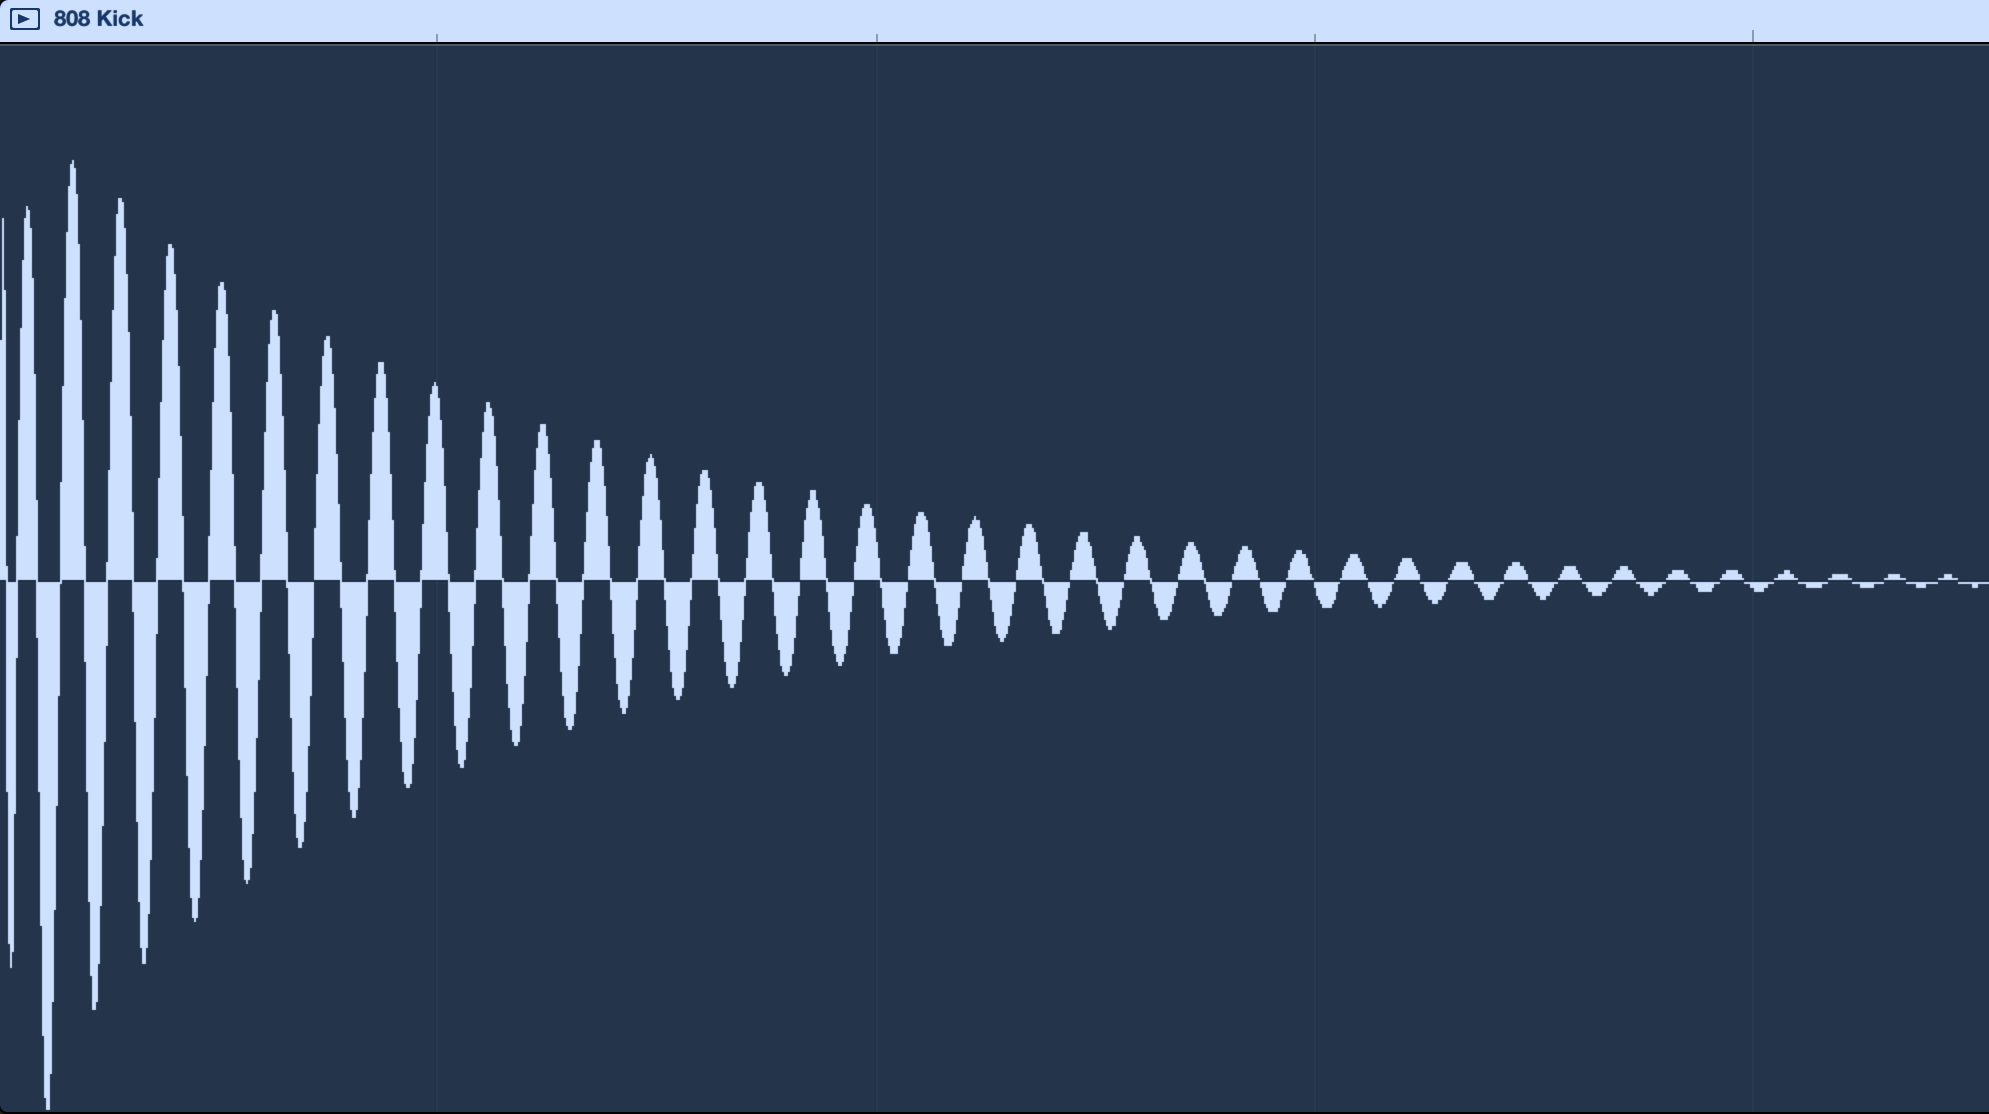
Audio looks like this:
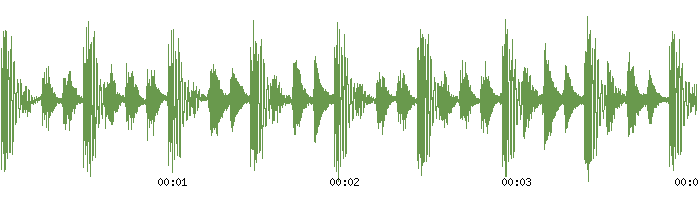
MIDI looks like this:

In simplest terms, audio is a sound that has already been recorded, while MIDI is just information that tells an instrument what notes to play.
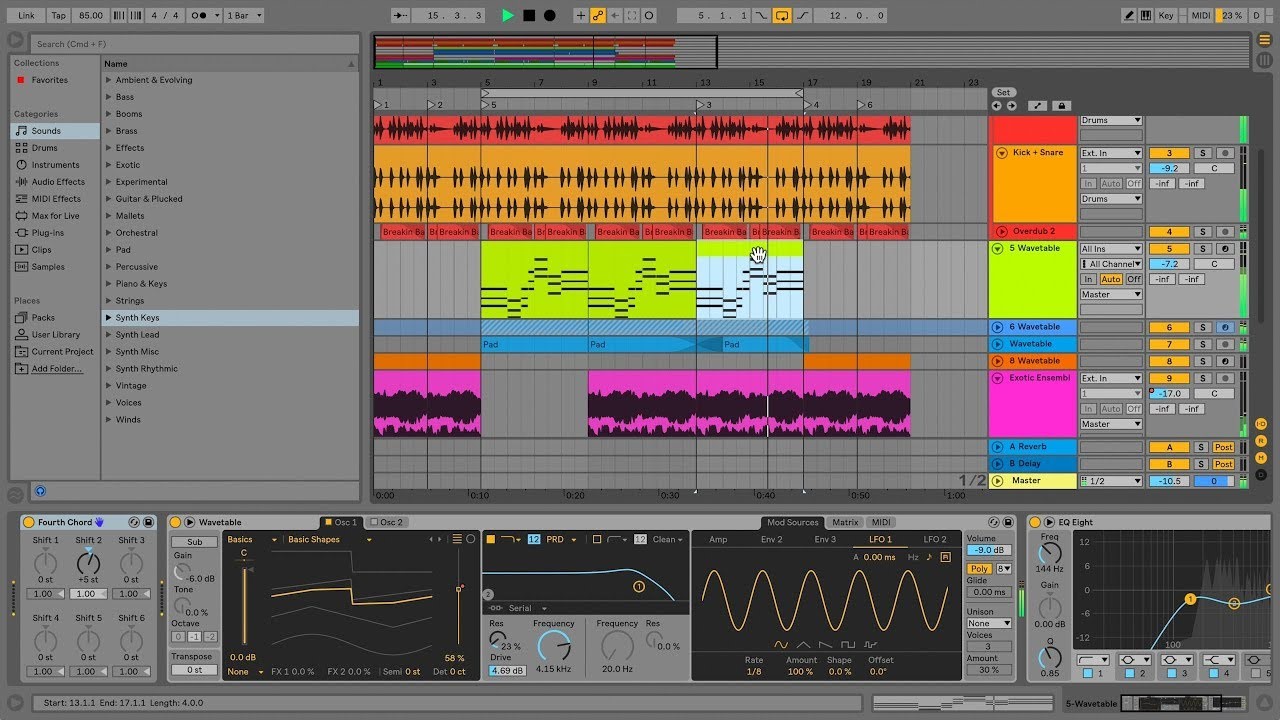
Session vs. Arrangement View
In Ableton, there are two main views you will be using: Session view and Arrangement view. I would suggest using arrangement view. From personal experience, I have only used Session view a handful of times. Session view could be useful for live performances, but when producing, you will mainly be using arrangement view.
Here is an example of what a typical Ableton project might look like, full of both audio channels and MIDI channels.
Samples
Samples are everything. A good sample library is like a well-trained army ready to be deployed. Samples are bits of audio that you can drag into your project to build your beats.
Loops vs One-Shots
A loop is a sample that can be repeated seamlessly while played back. The end point of a loop will blend with the start point and will continue to move forward in time while it stays on beat (assuming it is warped to the project’s tempo).
One-Shots are exactly what the name implies: a single hit of audio. These could be a kick drum, hi hat, snare, piano note, one chord, etc.
Over time you will build your sample library. There are tons of free sample libraries available online.
Here are three sample packs that I have made that you can have for free:
- Rome In Silver Sample Pack I
- Rome In Silver Sample Pack II
- Rome In Silver Sample Pack III
One thing to keep in mind though, is that downloading samples is the same as downloading plug-ins. Downloading too many at once will overwhelm you and could make your skills less effective. Instead, try downloading only a certain amount every now and then.
Over time you will build your library, but try to download some packs and then get your use out of those packs first before downloading a bunch more. Also, this way you will find which samples you go to most often and thus, your “sound” and “style” will start to form from this.
Other Sample Sources
Splice
Splice is a site where you can subscribe to get a certain number of samples each month. There are currently 4 price tiers, each one giving you a different number of sample downloads each month.
Looperman
Looperman is a place where you can download samples completely free, although some may not be royalty free so just check each time you are using the samples you find from there.
Loopmasters
Loopmasters was around long before Splice. It’s a place where you can browse and purchase sample packs. I actually still use Loopmasters quite a bit for the simple fact that way too many people use Splice. I hear Splice samples in so many songs these days. So, I find some amazing sample packs that are overlooked and super underrated on Loopmasters that a lot of people won’t have.
A bit pricier to buy full sample packs, but I still highly recommend this site.
Additional Resources
Here are some YouTube channels worth checking out. A lot of these users give valuable insight into technique, workflow, sound design, etc. You can follow along with a lot of them too.
When starting out with something such as sound design, I suggest to follow along with some of their sound design tutorials. This will help you learn synthesis much faster than just messing around with your plug-ins on your own.
SadowickProduction
Sadowick has been doing tutorials for as long as I can remember. I learned a lot of my techniques from him. Lots of valuable info.
Alckemy
This guy is somewhat new on my radar for tutorials but what I’ve seen so far is incredible. The way he presents everything is easy to digest and easy to follow along. This was one of the most helpful tutorials I’ve ever found. Use this if you want to make some drum & bass or weird aggressive bass music.
Frequent
Frequent makes some really cool bass music. His tutorials are insanely informative.
Ramzoid
Ramzoid has been a favorite producer of mine for a while. A couple of years ago he started doing YouTube production videos and they’re nothing short of amazing. A bit less informative, more for viewing pleasure, yet you can get some really cool ideas from watching him.
Kermode
This kid really knows what he’s talking about. He knows Ableton down to a tee. Worth checking out all his production videos.
Mr. Bill
Mr. Bill is a beast. His knack for sound design and insanely informative tutorials is impeccable. Many of his videos can be quite advanced, but when you’re ready definitely check him out.
Letsynthesize
Letssynthesize is another really good channel for learning sound design. One of the best in my opinion.
Reading the Manual for your DAW
No one usually reads manuals for anything. But when it comes to using your DAW, it is a valuable resource. Everything you need to know about your DAW is in that manual. Sometimes I’ll just read it when I have down time and I’ll discover something about Ableton that I never knew.
Read it to solve a problem, or read it just to learn your DAW further.
- Ableton
- FL Studio
A Few Other Tips
Get an external SSD for your samples. Especially if you are on a laptop. I have a SanDisk 1 TB SSD. This will help keep your computer running smooth and free up valuable space on your internal hard drive to store your projects, plug-ins, etc. Only store your samples on this drive.
Writer’s block is inevitable for all musicians/producers/beatmakers. I go through it all the time and you will too. Just remember that even if you are in a creative rut for a long time, it will eventually pass if you just keep making music. Here are a couple guides to get through writer’s block:
- Chasing Inspiration
- Music Production: Stay Inspired and Conquer Writer’s Block w/ Daniel Salvaggio
- Ten Ways to Keep the Creative Juices Flowing
Wrapping Up
I hope this brief guide on getting started has inspired you to want to start your music making journey. Producing music isn’t a short journey, it’s something that you will be doing for the rest of your life. It should always be fun though. You should never feel forced to do it, and if you do then it probably isn’t for you. The first few years while you are still learning the basics should be just as fun as year 10 when you have a solid grasp on everything.
Get creative, think outside the box, and have fun.
If you’re looking to get started now Ableton is offering a free 90 trial and FL Studio has a trial edition as well.
If you have any other questions, you can always reach out to me personally and ask me anything!
Connect with me:
Twitter
Instagram
Soundcloud
Facebook
Written by Rome In Silver